
Installing gutters might seem like a daunting task, but with a bit of preparation and the right tools, it’s entirely manageable as a DIY project. Proper gutter installation is crucial for directing rainwater away from your home, which helps prevent water damage and foundation issues. This guide will walk you through eight essential steps to install gutters effectively, ensuring that you protect your home while also adding a professional touch to your project.
From measuring and cutting to mounting and sealing, these steps will help you achieve a functional and aesthetically pleasing gutter system. Follow these instructions carefully, and you’ll have your gutters up and running in no time
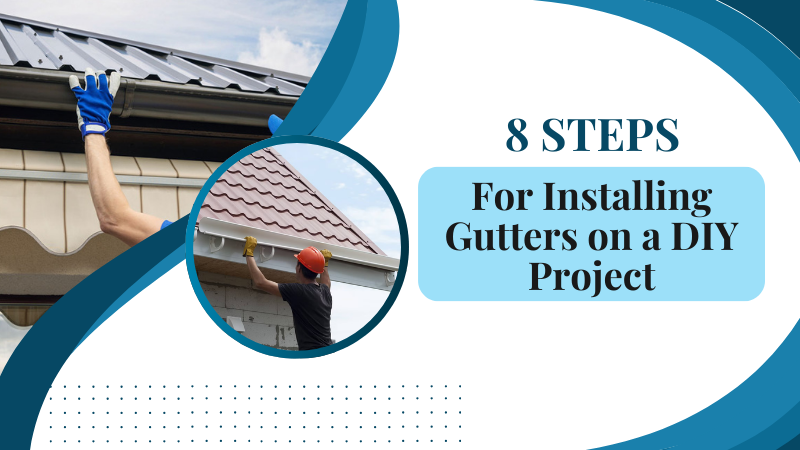
Steps for Installing Gutters on a DIY Project
Installing gutters yourself can be a rewarding DIY project that saves money while protecting your home from water damage. Follow these essential steps to ensure a successful and efficient installation.
1. Gather Your Tools and Materials
Before starting your gutter installation project, it’s crucial to gather all the necessary tools and materials to ensure a smooth process. Essential items include gutters, downspouts, brackets, and screws. You’ll also need a drill for securing brackets and a saw or metal snips for cutting gutters to size. A ladder is indispensable for reaching high areas safely.
Additionally, a level is necessary to ensure that your gutters are installed with the correct slope for effective drainage. Sealant is also critical for preventing leaks at joints and connections. Having all these tools and materials at hand will help you avoid interruptions and make the installation process more efficient, leading to a successful DIY gutter system setup.
2. Measure and Plan
Accurate measurement and planning are key to a successful gutter installation. Start by measuring the length of the roofline where you plan to install the gutters. This will determine the total length of the gutters you need and help you plan the placement of downspouts. Downspouts should be spaced to handle the expected water flow effectively, typically every 20 to 30 feet, depending on the size of the roof.
Consider the direction of the water flow and plan for downspouts to be located where they will direct water away from the foundation. Proper planning helps prevent issues later on and ensures that your gutter system functions optimally, reducing the risk of water damage.
3. Cut the Gutters
Once you’ve measured and planned, it’s time to cut the gutters to the correct lengths. Use a hacksaw or metal snips for precise, clean cuts. When cutting, ensure you make straight cuts to avoid sharp or jagged edges, which could cause injury or affect the performance of the gutter system.
Smooth out any rough edges to prevent water from pooling and to ensure that gutter sections fit together properly. Accurate cutting is essential for proper installation and alignment, which will help prevent leaks and ensure that water flows smoothly through the gutters and downspouts.
4. Install Gutter Brackets
Installing gutter brackets properly is crucial for a stable and functional gutter system. Attach the brackets to the fascia board, which is the board that runs along the edge of your roof. Follow the manufacturer’s recommendations for spacing, typically every 24 to 36 inches, to provide adequate support for the gutters. Use a level to ensure that each bracket is aligned correctly.
Proper alignment is vital for the gutters to slope slightly towards the downspouts, facilitating effective water flow. Secure the brackets with screws, making sure they are firmly anchored to the fascia to support the weight of the filled gutters.
Also Read : 7 Best Materials for Gutter Installation in 2024
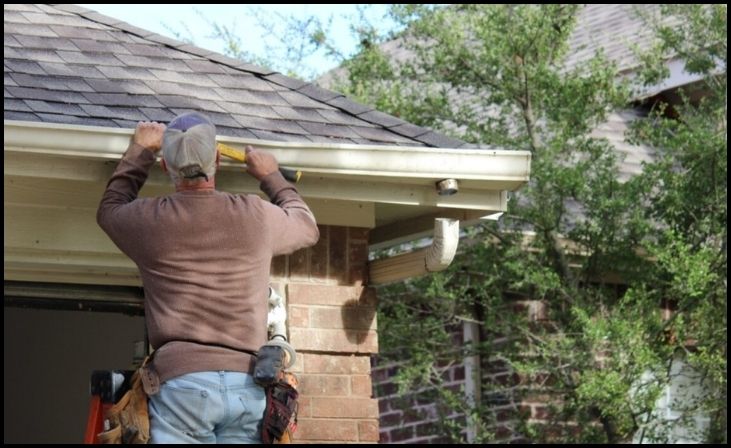
5. Attach the Gutters

With the brackets in place, you can now attach the gutters. Place the cut gutter sections into the installed brackets, ensuring they fit snugly and securely. Use connectors or joints to join sections of gutters together, following the manufacturer’s instructions for a watertight connection. It’s important to make sure that the gutters are sloped slightly towards the downspouts to promote proper drainage.
This slight angle ensures that water flows naturally from the roof into the gutters and down the downspouts without pooling or overflowing. Proper attachment and alignment are crucial for the system’s overall performance.
6. Install Downspouts
Attaching the downspouts is the next step in completing your gutter system. Mark and cut holes in the gutters where the downspouts will be installed. The holes should be just large enough to fit the downspout securely. Once the holes are cut, insert the downspout sections and secure them with screws.
Ensure that the downspouts are directed away from the foundation to prevent water from pooling around the base of your home. Proper installation of downspouts is essential for directing water away from your foundation and reducing the risk of water damage to your home’s structure.
7. Seal Joints and Connections
To ensure your gutter system is leak-proof, apply sealant to all joints and connections. Sealant helps to fill any gaps and prevent water from escaping through the joints, which could lead to leaks and water damage. Apply a generous amount of sealant to all areas where sections of the gutter connect, as well as around the downspouts.
Smooth the sealant to ensure a good seal and to avoid any rough patches that could catch debris. Allow the sealant to cure fully before testing the system with water. Proper sealing is crucial for maintaining the integrity and efficiency of your gutter system.
8. Test the System

After completing the installation and sealing of your gutter system, it’s important to test it to ensure everything is functioning correctly. Run water through the gutters by using a hose to simulate rainfall. Watch for any leaks or areas where water might not be flowing properly.
Check the entire length of the gutters and downspouts for proper drainage and to ensure there are no obstructions. Make any necessary adjustments, such as tightening connections or reapplying sealant, to address issues. A thorough test ensures that your gutter system is ready to effectively manage rainwater and protect your home from potential water damage.
Conclusion
Successfully installing gutters on your own can be a rewarding experience, saving you money while ensuring your home is protected from water damage. By following these eight steps—gathering tools, measuring and planning, cutting, installing brackets and gutters, attaching downspouts, sealing, and testing—you’ll ensure a functional and efficient gutter system.
Remember to take your time, use the right materials, and double-check your work. With proper installation, your new gutters will effectively channel rainwater away from your home, maintaining its integrity and enhancing its overall value.
FAQs
How do I know if my gutters are installed at the correct angle?
To guarantee proper drainage, gutters should have a little slope towards the drains. Use a level to check the slope; it should be about 1/4 inch per 10 feet.
What should I do if my gutters start to leak?
Inspect the area for loose or damaged sections. Apply additional sealant to any leaks and ensure all connections are tightly secured. For persistent issues, consider consulting a professional.